MACHINE SALES: 877-335-5206
TECHNICAL SUPPORT: 866-838-2424
PARTS/SUPPLIES: 855-373-6929

Support for HappyJapan Multi-Head Embroidery Machines

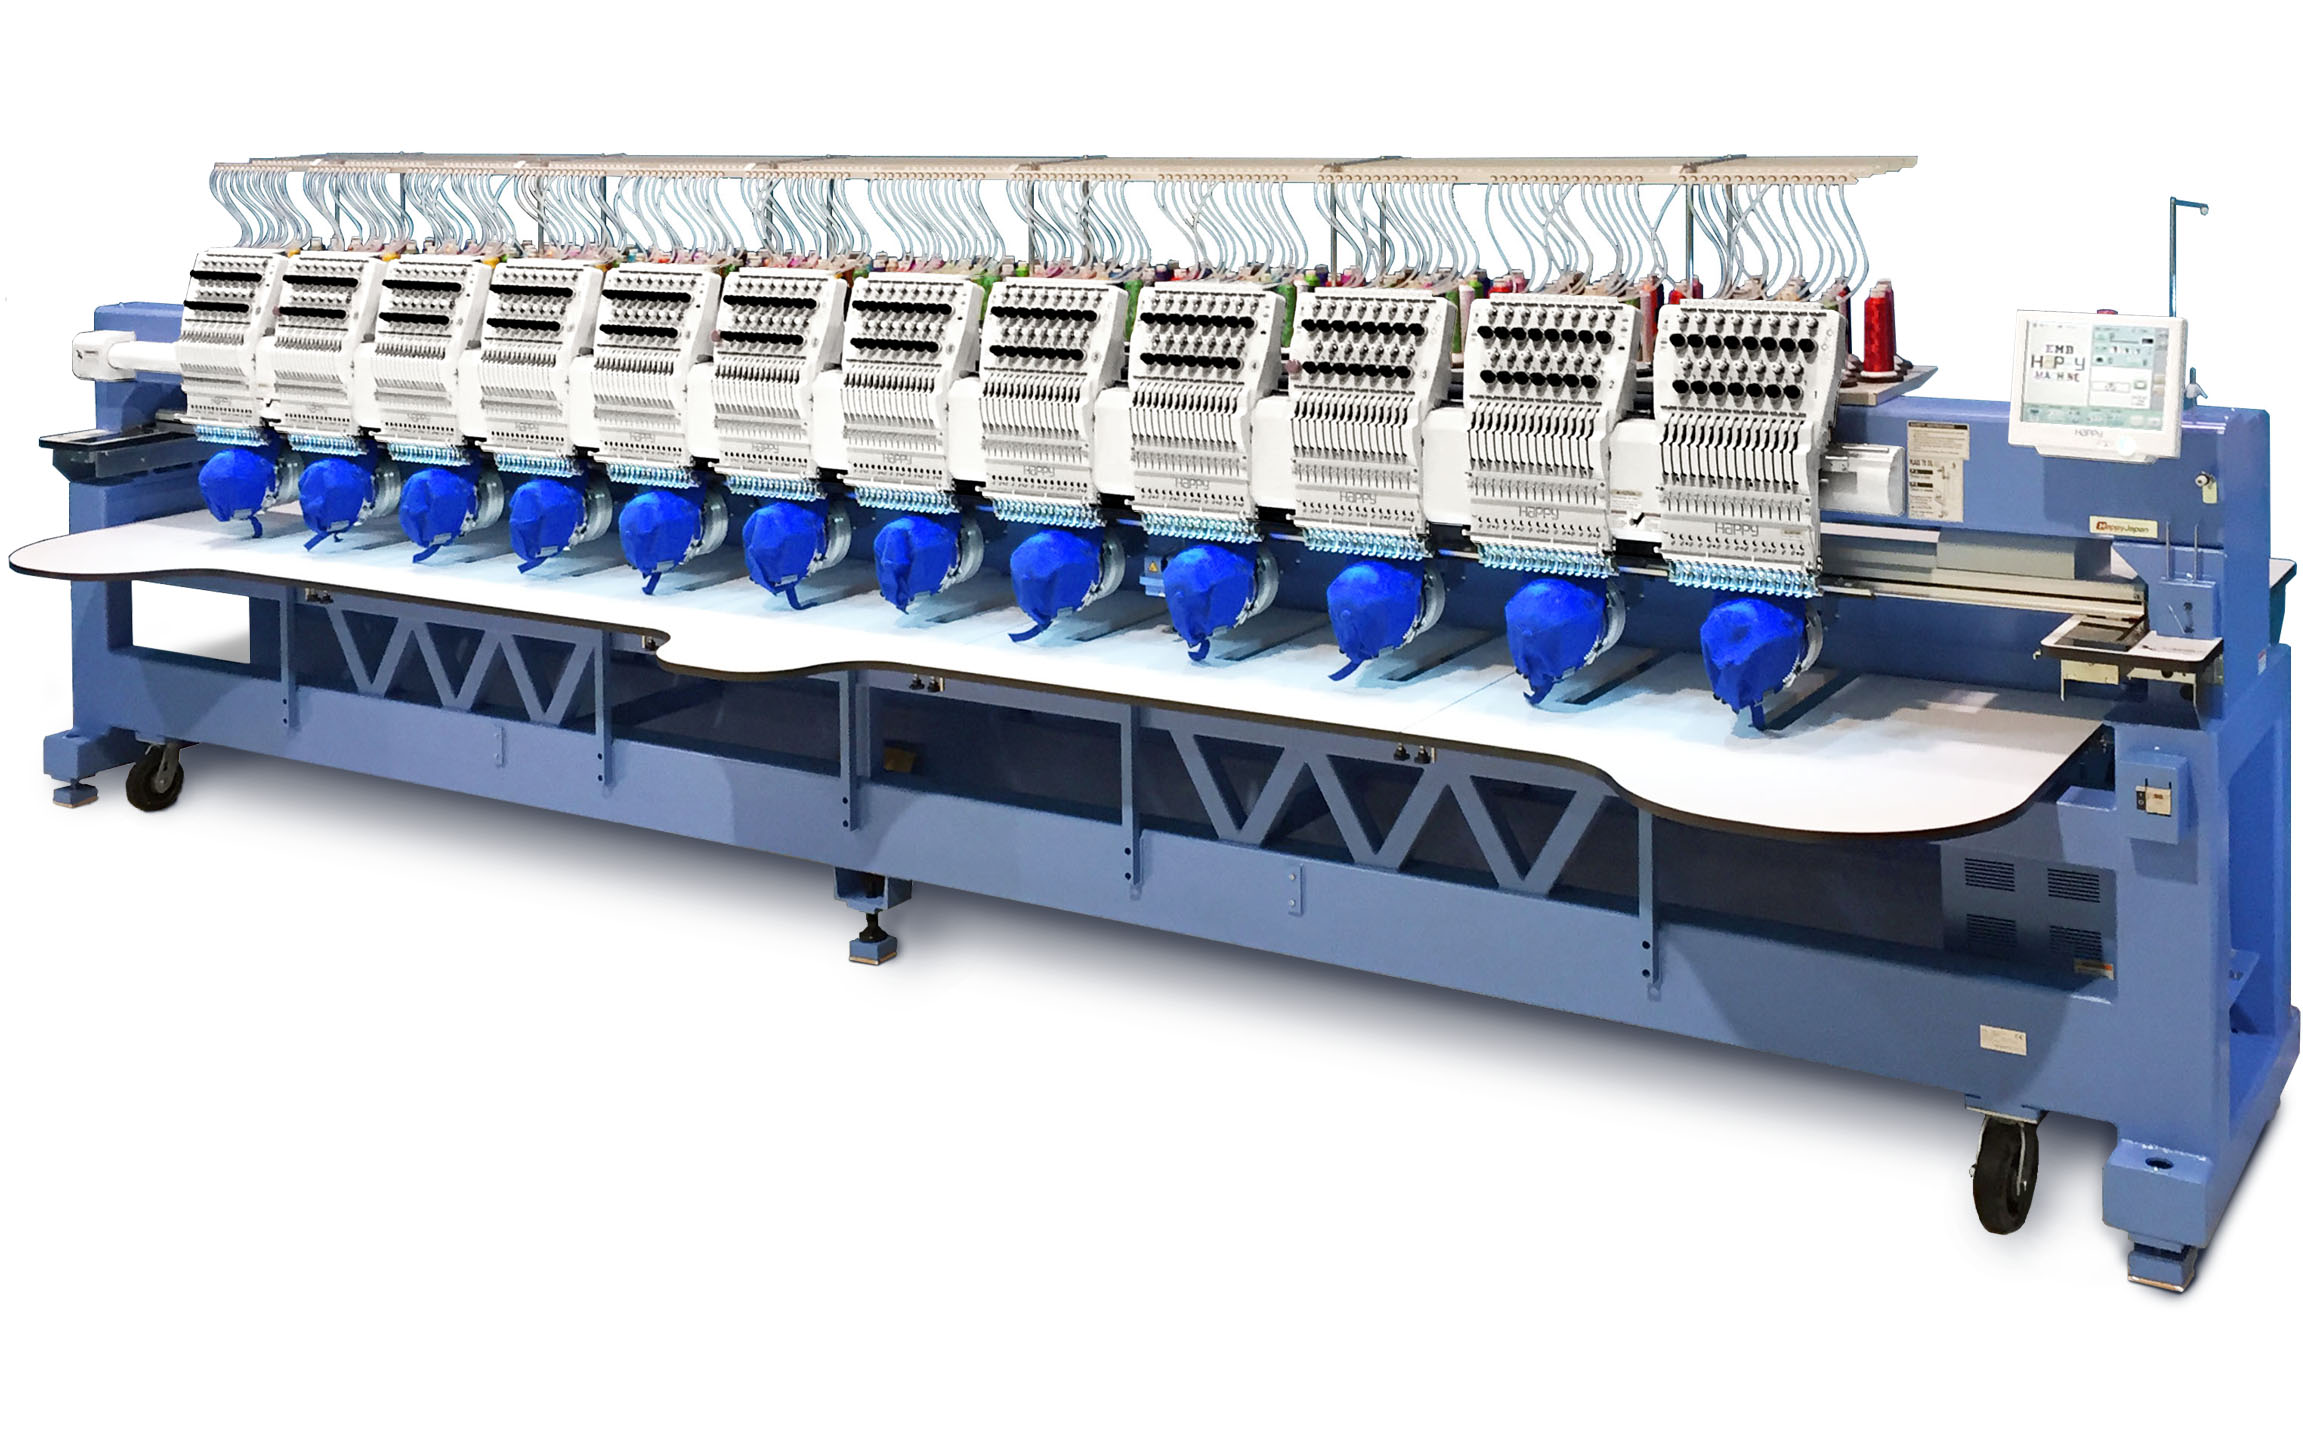
Support resources for current and recent HappyJapan multi-head embroidery machines, which includes the HRC2-series multi-head embroidery machine line and the current generation HCR3-series.

Machine Manuals

PDF icon

HCR3-series touchscreen multihead machines

PDF icon

HCR2-series touchscreen multihead machines

To better assist you: Provide model & SERIAL #


To streamline support and better determine the best support resources for your HappyJapan multi-head embroidery machine, please have the exact model number and serial number available.

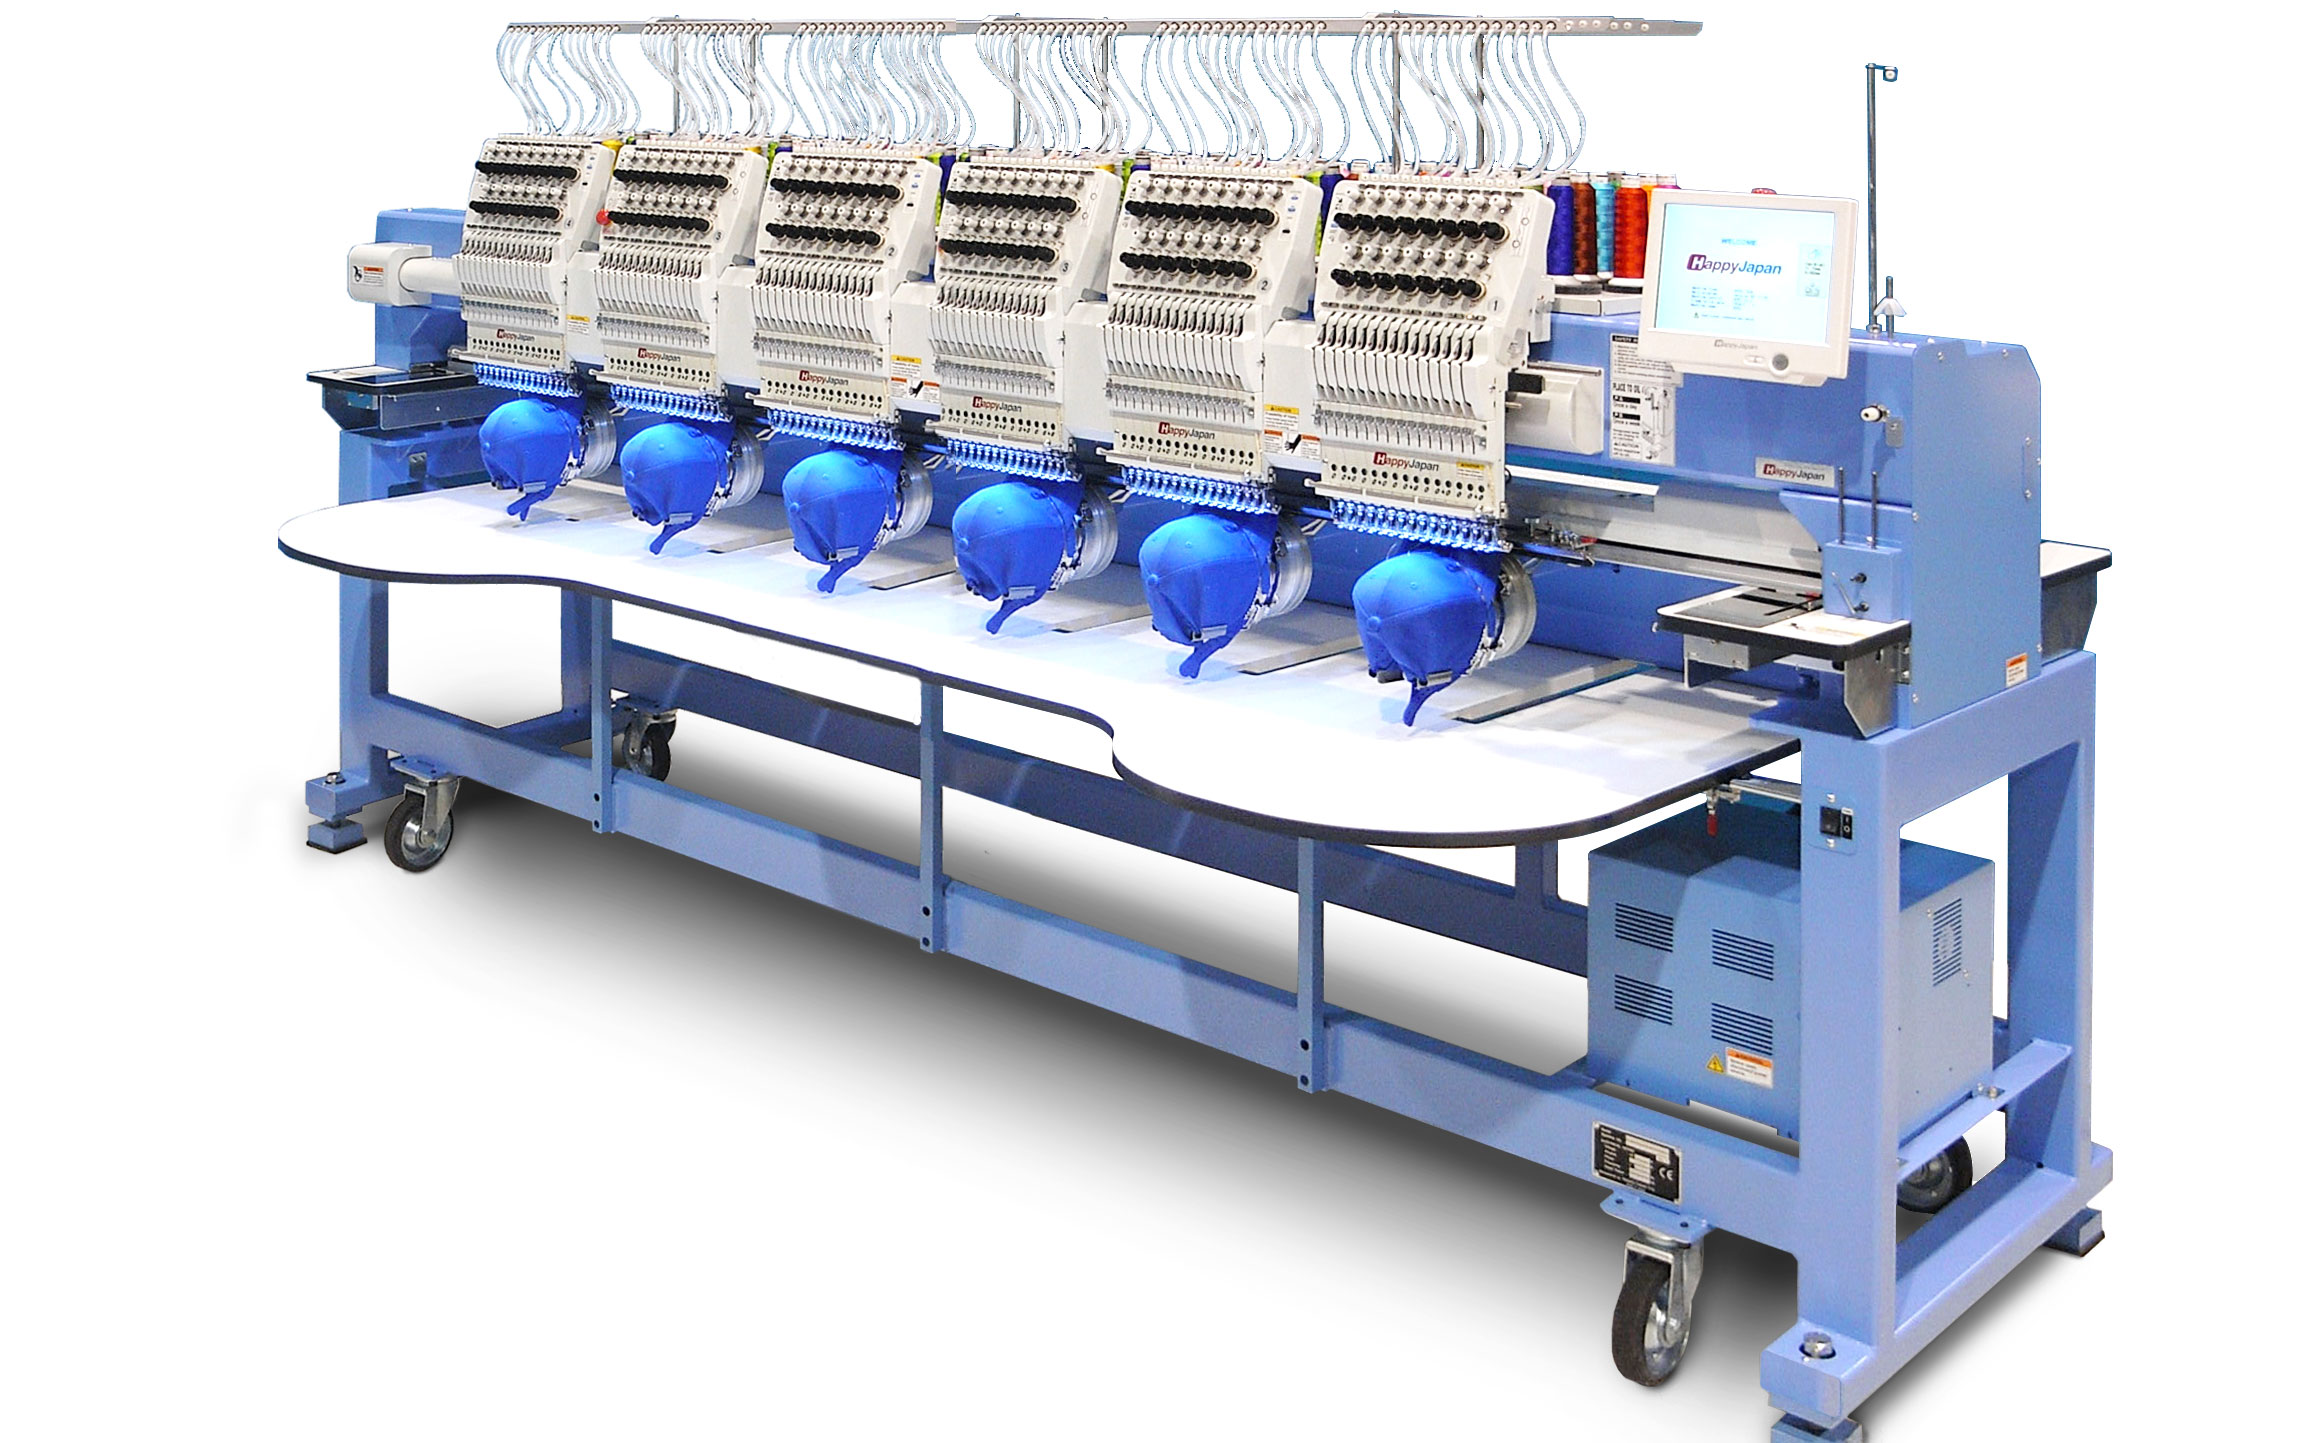
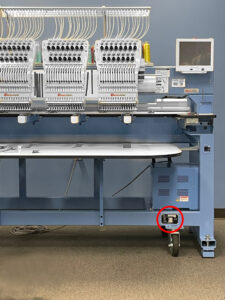
You can find this information on the name/serial plate fixed to the lower portion of your machine, usually mounted on the support legs or beam, as indicated by the red circle in the photo to the right.

Name Plate Location

Understanding the information on the name plate

  • Model number: In this case, HCR3-1504-45 designates the machine as a multi-head model of the 3rd generation, a 4-head with 15 needles per head. The lack of an “X” in the name indicates that this is a standard-field machine, with a sewing field per head of 360mm wide x 450mm deep (45 in the name is the depth of the sewing field in cm)
  • Machine No: machine serial number
  • Electrical Information: This is information is critical for installation, so that the owner can plan to arrange an appropriate power outlet of the correct capacity for the machine.


CONTACT SUPPORT

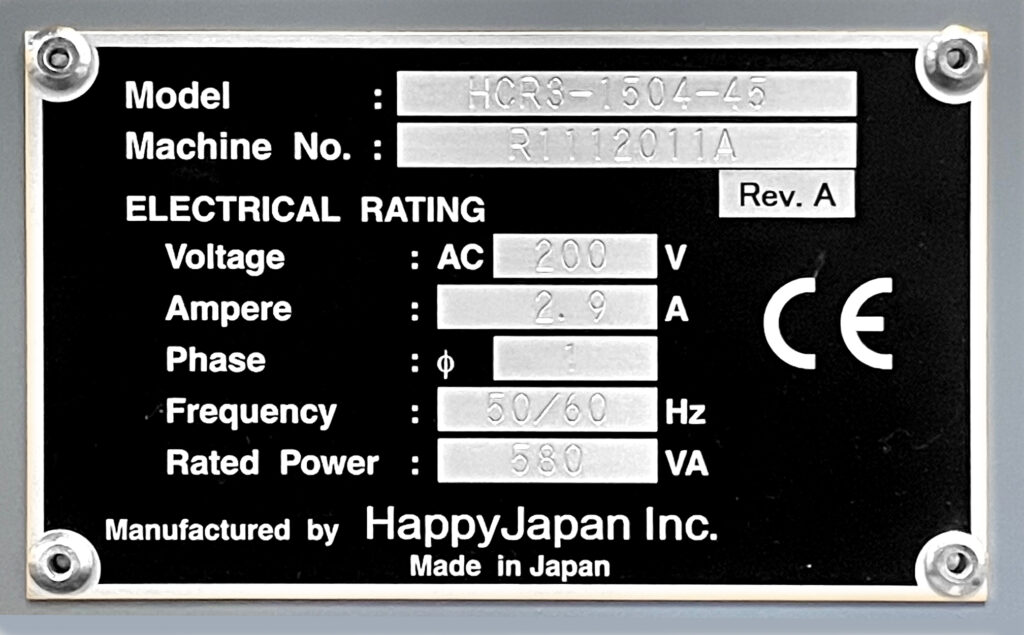
If you need to speak with a technician or schedule a service call, contact Texmac’s Support Department via phone or e-mail.  Please note that charges may apply for phone support for machines not purchased directly from Texmac.  To facilitate support, please have your machine model number and serial number ready, which can be found on a metal plate.

Telephone: 866-838-2424

Email: techinfogroup@texmacusa.com


Basic Troubleshooting

Thread Breaks

Here are some guidelines for troubleshooting and eliminating common causes of thread breaks, especially for relatively inexperience operators:

  • Thread break error/thread not actually broken:
    • Check for empty bobbin
    • Is the thread break sensor is properly threaded? It must turn easily as the thread passes through it. Test-pull the thread.
  • Thread actually broken:
    • Check that the thread is properly routed at all points. 
    • Check that the needle is oriented correctly – with scarf facing backwards and groove facing forwards, turned straight-on or so that the eye is slightly right of center.
    • Thread quality: Use high-quality thread (suggested brands like Rapos and Madeira which can be purchased from TEXMAC DIRECT. Quality thread has long shelf-life (with proper care) and higher tensile strength to withstand tension tolerances on commercial embroidery machines.
    • Thread condition: Thread should be handled and stored carefully. For best performance, thread on the cones should be touched by hand as little as possible and stored in a way that the machine wind isn’t physically touched/damaged. Thread should not be subjected to extremes of humidity and not stored in direct sunlight.
    • Good troubleshooting technique for thread: move the thread cone to another needle position and/or swap for a new cone of thread. If all the above basics are followed, and thread breaks continue wherever the cone is placed, that particular thread cone can be considered suspect.

So-called to describe a large build-up of thread above or below the needle plate, this often results in machine jams.  Generally, birdnesting is caused by either: 

  • Bobbin case not threaded properly or bobbin case not inserted / not completely inserted in the machine
  • Gross imbalance of tension – bobbin either far too tight compared to upper tension, or, more likely, upper tension is far too loose.
  • Hoop is not moving the garment far enough to the next location of the next stitches. This can be caused by:
  • Item hooped too loosely
  • Garment falling out of the hoop causing it to remain motionless as the machine adds stitches in the same spot
  • Too many stitches stacked in one spot in the design – this is rare, especially if the design is created by a skilled digitizer


There are many possible causes for sewing quality issues, most of which can be addressed with proper procedure including proper threading, tension, needle and stabilizer choice, proper hooping technique to secure the garment properly, digitizing quality and matching the digitizing technique to the type of fabric or item being embroidered. Below are some common quality issues matched with possible causes:

  • Looping / loose stitches: improper tension (usually not enough). Machine may also be out of adjustment if it has not been maintained over a long period of time or has been subject to an incident (hoop strike / birdnest event, etc.)
  • Rough edges, design details not “crisp” – check:
  • Hoop arms securely screwed / fastened to the machine. Hoop securely locked onto hoop arms.
  • Item hooped securely with no slack
  • Poor-quality digitizing
  • Improper stabilizer – rough edges, uneven sewing may be the result of underlying texture of the item, such as pile on a terrycloth towel or the “grain” of a pique knit. Water-soluble topping must be used in combination with proper underlay for crisp detail on textured fabrics.
  • Distortion of design or detail in the design
  • Overstretched fabric in hoop – fabric must be hooped taut without any slack, but not stretched in the hoop
  • Improper stabilizer or digitizing technique – stretchy fabrics such as knits must have adequate stabilizer matched with proper digitizing technique which stabilizes fabric enough to allow detail to sew crisply without distortion.
  •  

If the machine stops due to faults or errors, an error code will often show on the screen. Refer to this error code list for possible causes and courses of action. Often, error codes will offer 2 options:

  • AUTO – press this button to allow the machine to try to resolve the problem automatically
  • MANUAL – choose this option to try and manually resolve the problem
  •  

Refer to this list of common error codes for possible causes and courses of action:

  • E-050 C-Point – machine has failed to return the main shaft position to its at-rest position (270 degrees) after it last stopped.  If AUTO does not clear this error, access the main shaft dial by removing the round black rubber access cap, disable the brake, insert a 4?mm Allen wrench into the socket of the main shaft dial and try to manually turn the dial clockwise until C point is at the pointer.  While doing this, turn the shaft all the way around to make sure it can do so without any resistance.
  • E-018 Main Shaft – unusual mechanical resistance was encountered as the main shaft tried to turn.  Check for blockage/make sure main shaft can turn all the way around.
  • E-021, 022, 024 – needle move, needle center.  The heads failed to move enough left-right to completely to the current needle position.  It may be off even slightly.
  • E-020, 026 – needle detect, needle differ.  Machine is unsure or incorrect about which needle number is currently sitting over the needle plate.
  • E-051, 052 – C and L sensors may be dirty or out of alignment with the shaft.
  • E-060 X-Limit, E-061 Y-Limit – Part of the design will sew outside of allowable limits.  Adjust design position or reduce size.
  • E-114 Id Over– memory is full.  Delete some designs.
  • E-190 Cut blade – the moving knife failed to swing completely shut after a cut cycle. On multi-head machines, the moving knives are linked by a common shaft, so if the knife on a particular head position is not at the home position, check knives on other heads on the machine to verify that the problem is with the common shaft/cam and not an individual knife out of position.
  • E-193 Catcher – this is caused by the catcher (upper thread hook) failing to fully retract upwards.  This can either be due to a catcher problem, or, if the thread is still not cut after a cut cycle, the catcher tried to grab the uncut thread, which is strong enough to prevent the catcher from retracting.  In the latter case, the machine had a problem cutting, which in turn caused the catcher error. Note that on multi-head machines, each head has its own position sensor, so when this error appears, determine which head(s) are involved with the error code.

Equip your business with easy-to-use multi-head embroidery machines.

Real stories from our successful customers